How to Convert Your RV Battery to Lithium: A Complete Guide
What Does Converting an RV Battery to Lithium Mean?
Converting an RV battery to lithium involves replacing heavy, inefficient lead-acid batteries with high-performance LiFePO4 cells. This upgrade requires assessing your charging system compatibility, safely swapping the physical batteries, configuring proper charge profiles, and establishing a robust battery management system to secure long-term off-grid power.
- Disconnecting old battery safely.
- Checking charger compatibility (converter, alternator, solar).
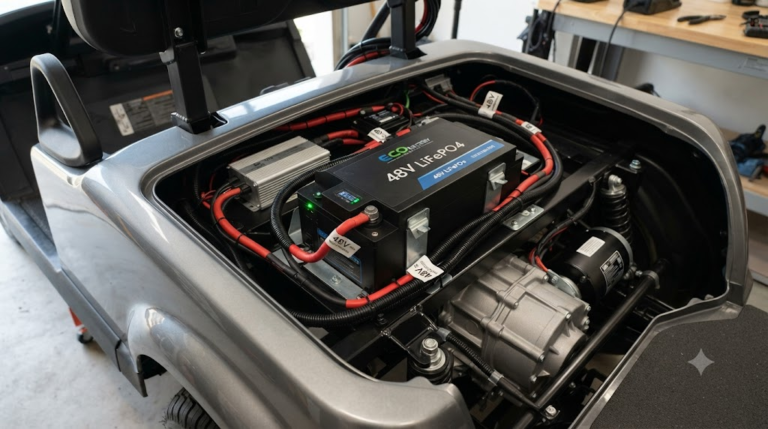
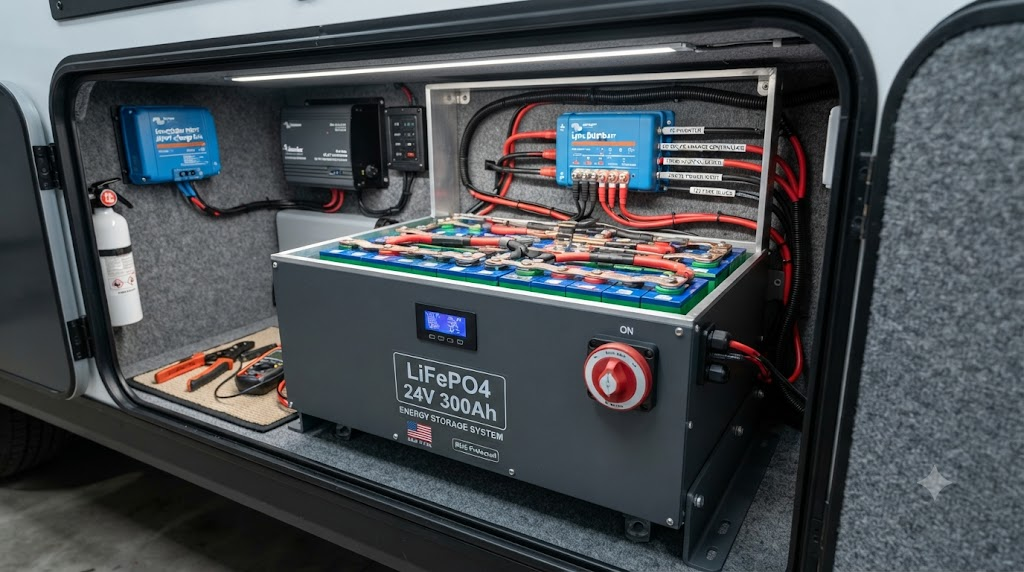
- Installing the new LiFePO4 battery securely.
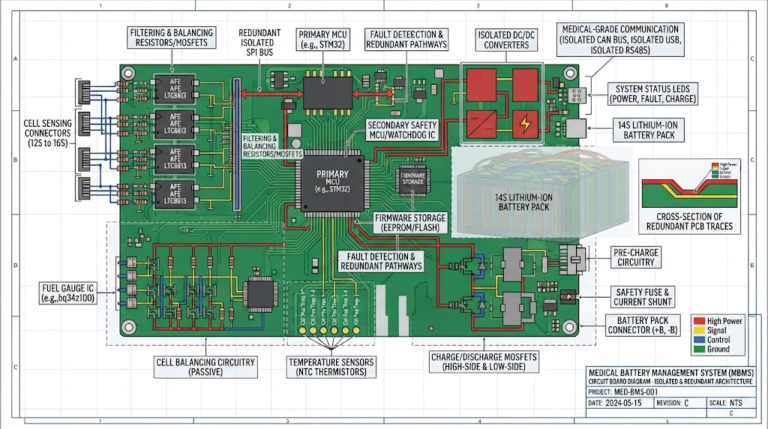
- Configuring the BMS and charge controllers.
- Testing the completed system for proper voltage and operation.
Modern off-grid travelers need reliable power. Traditional deep cycle battery options, like flooded lead-acid or AGM, fall short under heavy appliance loads.
Transitioning to Lithium Iron Phosphate (LiFePO4) resolves these constraints. This chemistry provides steady voltage throughout the discharge cycle, ensuring your lights, fans, and water pumps run optimally.
In our testing, we define “converting RV battery to lithium” as a holistic system upgrade. It is not merely a physical swap, but a recalibration of your vehicle’s entire energy ecosystem.
“LiFePO4 represents the safest, most stable lithium chemistry available for mobile environments. It eliminates thermal runaway risks common in older lithium-ion formulations.”
Evaluating Your RV’s Existing Electrical System Compatibility
Before purchasing new batteries, you must inspect your rig’s current electrical infrastructure. Standard lead-acid chargers do not provide the voltage profiles required to fully charge lithium cells.
RV Converter Compatibility
Your onboard converter-charger changes shore power into 12V DC power. Older converters lack a dedicated lithium charge profile, which requires a constant current/constant voltage (CC/CV) bulk charge of 14.4V to 14.6V followed by a float charge of 13.6V.
Without this profile, a standard converter will only charge a LiFePO4 battery to about 60-80% capacity. This undercharging starves your system and can lead to cell imbalance over time.
Solar Charge Controller Settings
If your RV uses solar power, check your solar charge controller. Most modern controllers from major brands have pre-programmed lithium profiles.
If yours does not, you must manually program the absorption and float voltages. If you require a highly robust, customized setup, sourcing your power core from an experienced LiFePO4 battery manufacturer ensures seamless component synchronization.
DC-to-DC Chargers & Alternators
Charging your lithium bank directly from your tow vehicle’s alternator can damage both components. Lithium batteries have low internal resistance and will pull maximum current from the alternator, potentially overheating it.
Installing a dedicated DC-to-DC charger regulates this current flow. This protects your alternator while ensuring your house batteries receive their target voltage during transit.
The JHY 3-Step Smart-Fit Conversion Protocol
To simplify the installation process, we developed the JHY 3-Step Smart-Fit Conversion Protocol. This structured methodology ensures safety and efficiency during your system upgrade.
Step 1: Electrical Audit & Capacity Calculation
Calculate your daily energy consumption in amp hours. List all 12V appliances, their draw, and their runtime. This total dictates the size of your new battery bank.
Step 2: Component Matching & BMS Integration
Match your battery bank to your inverter charger and solar array. Ensure your battery management system (BMS) can handle the continuous discharge currents required by high-draw appliances like microwaves or air conditioners.
Step 3: Thermal & Structural Securement
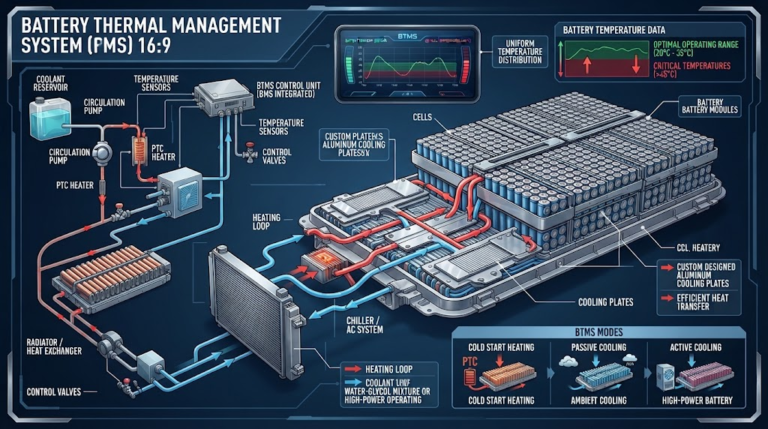
Lithium batteries are lighter than lead-acid but still require secure mounting. Place them in a temperature-controlled space, as lithium cells should not be charged in sub-freezing temperatures without integrated heaters.
Step-by-Step Installation: How to Safely Install Your Lithium Battery
Safety is the primary priority when working with electrical systems. Follow these instructions to complete your installation securely.
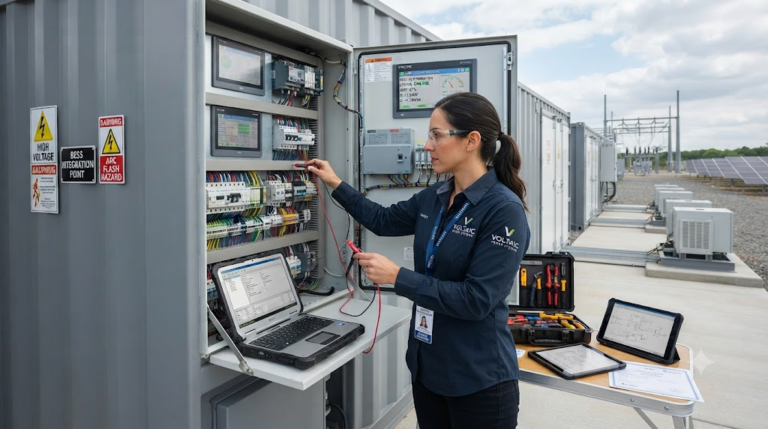
Required Tools and Safety Gear
- Insulated hand tools (wrenches, screwdrivers)
- Digital multimeter
- Safety glasses and heavy-duty work gloves
- Heavy-gauge copper cabling and high-quality heat shrink
Step 1: Disconnect and Remove the Old Battery
Turn off all shore power, solar disconnects, and generator systems. Remove the negative cable first to prevent accidental short circuits, followed by the positive cable. Clean the battery tray of any residual corrosion.
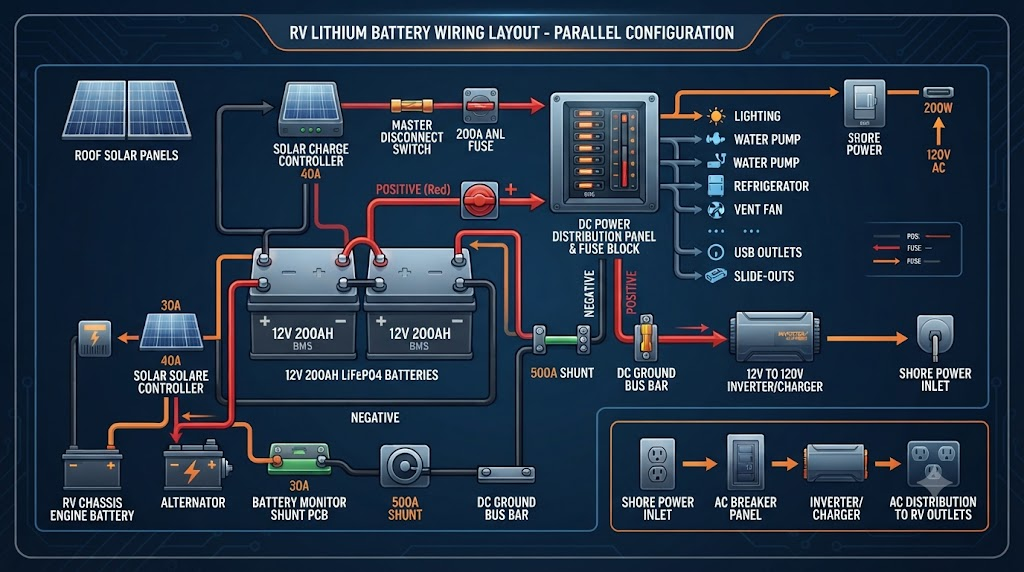
Step 2: Configure Wiring (Parallel vs. Series)
Decide if your system requires a parallel configuration (to increase capacity/amp hours while maintaining voltage) or a series configuration (to increase voltage to 24V or 48V). Use identical cable lengths for parallel connections to balance the load evenly across all cells.
Step 3: Install the Battery Monitor
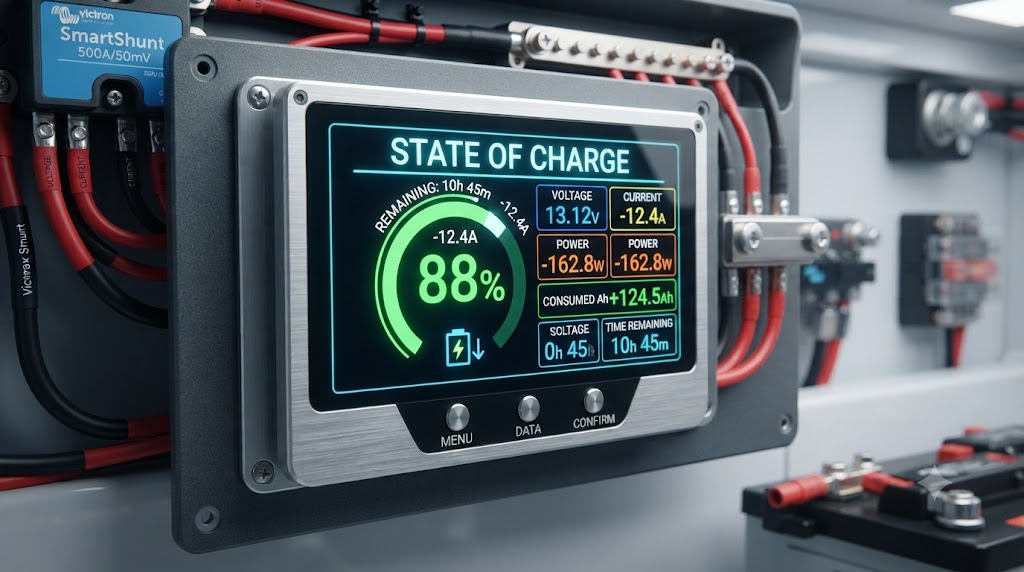
Lead-acid battery monitors read voltage, which is inaccurate for lithium due to its flat discharge curve. Install a shunt-based battery monitor to track the actual State of Charge (SoC) by measuring amp-hours in and out of the system.
Niche Scenario: Retrofitting Vintage RVs and Cold-Weather Systems
Retrofitting vintage RVs introduces unique challenges. Older airstreams or campers often utilize integrated vintage RV converter designs that lack modern safety shutoffs or clean DC output.
In these scenarios, we recommend completely bypassing the original converter-charger. Install a modern smart charger or inverter charger to provide clean, filtered power to your sensitive lithium BMS.
Cold-weather performance is another vital consideration. Charging lithium batteries below 32°F (0°C) causes lithium plating, which permanently degrades the cells.
If you camp in sub-zero temperatures, utilize heated battery packs or mount your batteries inside the heated living space of your RV. High-end systems feature integrated thermal sensors that automatically disable charging while allowing discharge to continue safely.
Lithium vs. Lead-Acid: A Data-Backed Cost-Benefit Analysis
While the upfront cost of lithium batteries is higher, their long-term value is clear when analyzing lifetime costs.
| Metric | Lead-Acid / AGM | LiFePO4 Lithium |
|---|---|---|
| Usable Capacity (DoD) | Up to 50% | Up to 80% to 100% |
| Lifespan (Cycles) | 300 – 500 cycles | 4,000+ cycles |
| Weight (per 100Ah) | 60 – 70 lbs | 25 – 30 lbs |
| Voltage Sag | Significant under heavy load | Minimal/Flat curve |
Upgrading to LiFePO4 increases usable battery capacity by up to 80% compared to only 50% for traditional lead-acid batteries. This means you get more runtime out of a physically smaller footprint.
Furthermore, LiFePO4 batteries support over 4,000 charge cycles, lasting up to 10 times longer than standard AGM batteries under similar depth-of-discharge conditions. This longevity lowers your overall cost per kilowatt-hour over the life of your power system.
Get a Custom OEM/ODM Lithium Battery Solution for Your RV
Off-the-shelf options do not always fit the unique compartments of custom builds or vintage vans. Standard sizes can limit your total storage capacity.
If you need specialized dimensions, voltage outputs, or custom BMS parameters, working with a tier-one supplier is essential. You can design tailored power configurations through JHY Battery custom solutions to maximize your physical space.
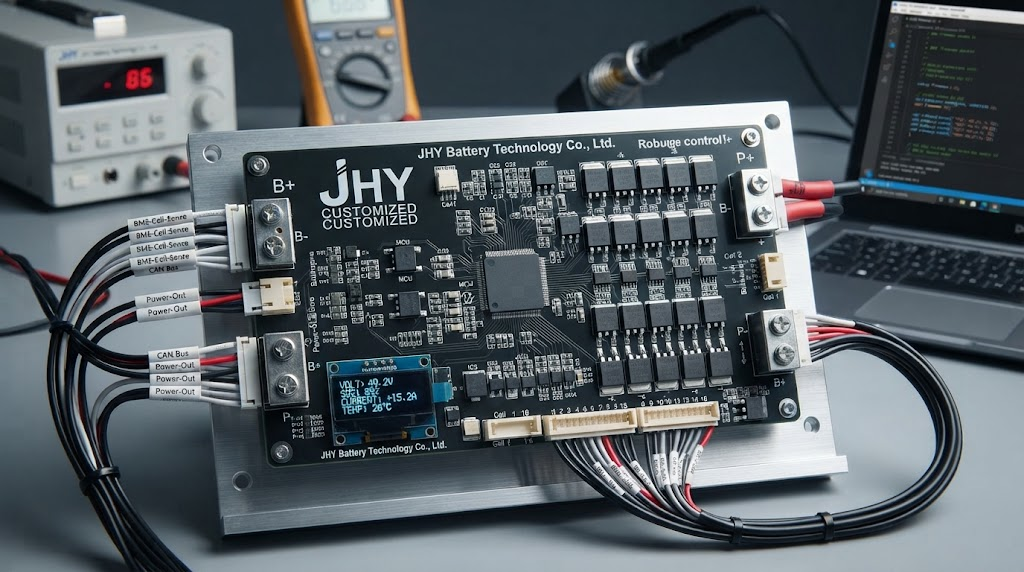
Juheyuan Science & Technology Co., Ltd. (JHY Battery) brings over a decade of industry expertise to B2B buyers and custom builders globally. They offer complete OEM/ODM customization with certifications including ISO9001, CE, UN38.3, MSDS, and UL.
Request Your Custom Power Architecture
- Identify your space constraints and voltage needs (12V, 24V, or 48V).
- Submit your specification requirements to our engineering team.
- Receive a certified, fully tailored battery pack designed for your rig.
Frequently Asked Questions About RV Lithium Conversions
Can I charge my lithium battery directly from my alternator?
No, we do not recommend direct charging. High-capacity lithium batteries draw maximum current, which can overheat your alternator. Utilize a DC-to-DC charger to regulate current and protect your vehicle’s alternator.
Do I need to replace my existing RV converter?
If your current converter lacks a dedicated lithium switch or profile, it will not fully charge your batteries. While it will charge them to around 80%, replacing it with a modern converter-charger ensures maximum efficiency and capacity.
Can I mix lithium and lead-acid batteries in the same bank?
No. Lead-acid and lithium batteries have different nominal voltages, internal resistances, and charging profiles. Mixing them will degrade both batteries and can cause safety hazards.